A clear presenter can make a lesson feel more human, guide attention and give viewers a reason to keep watching. But recording yourself is not always practical. You may not have a camera setup, a quiet room, time for repeated takes or the confidence to appear on screen.
Animator Talking Characters offer another path: choose a character, write the narration, preview a voice and place the presenter directly on the whiteboard canvas. The character becomes part of the same editable project as your text, images, handwriting, captions and audio.
What are Animator Talking Characters?
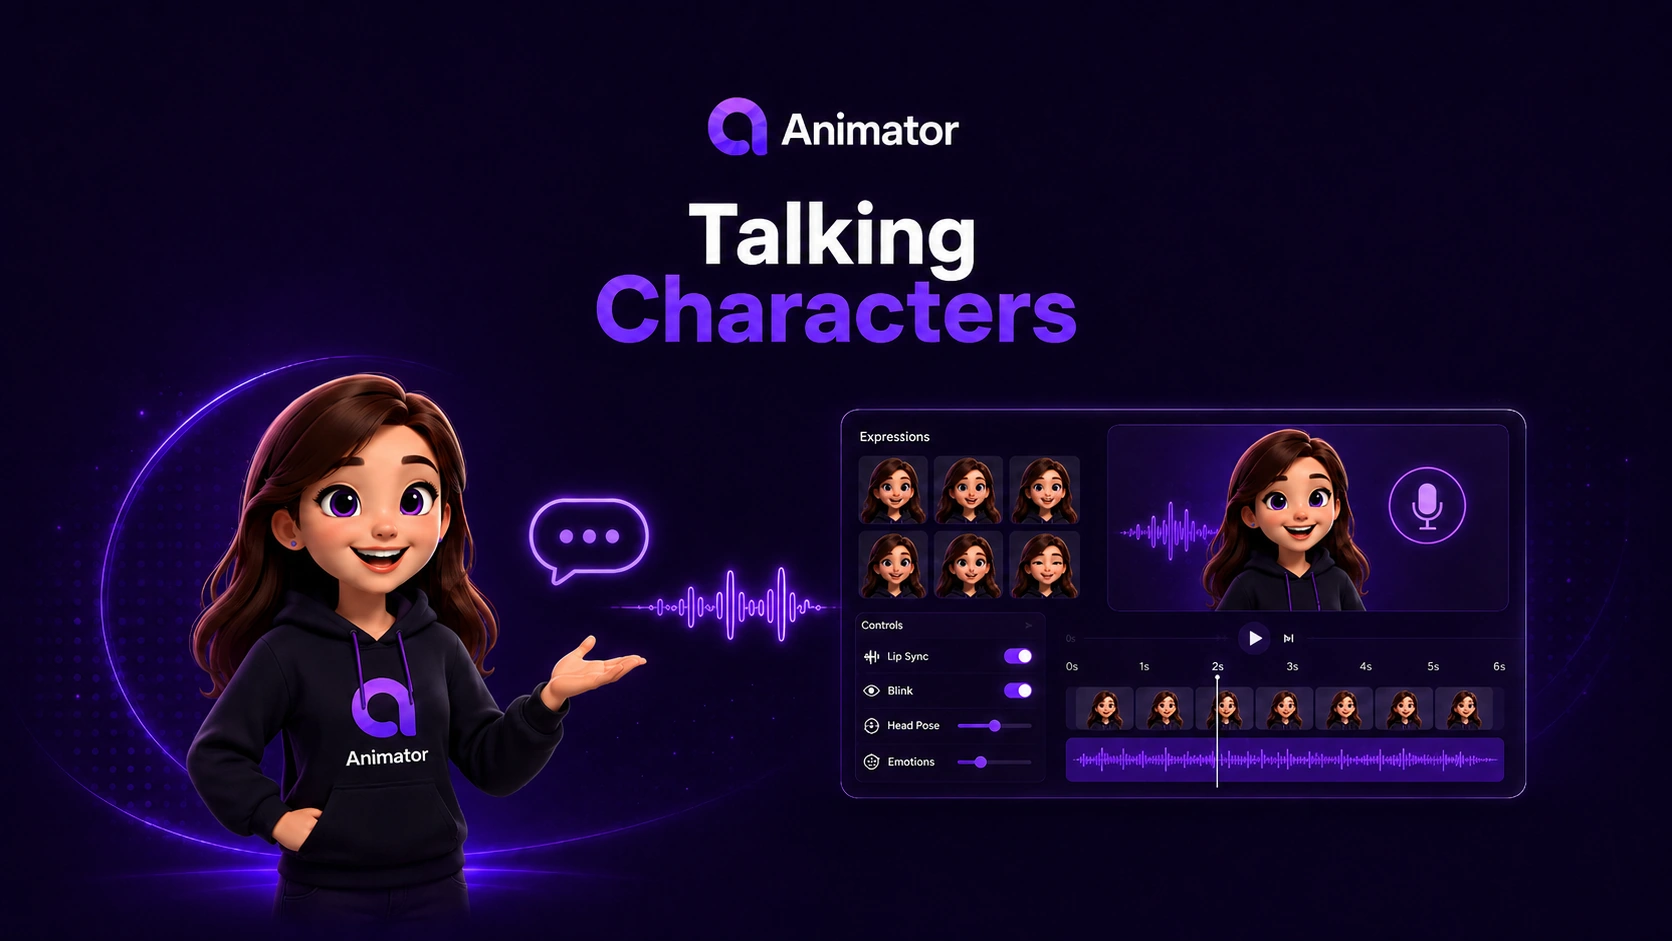
Talking Characters are animated presenters designed for lessons, tutorials, onboarding videos, product stories and explainers. They can speak your script while using subtle behaviours such as:
- lip sync timed to narration;
- blinking and gaze changes;
- breathing and gentle body movement;
- head nods, tilts and turns;
- presenter motion that supports the explanation without overpowering it.
The goal is not to replace the lesson with a character. The presenter acts as a visual guide while the whiteboard carries the important diagrams, examples and teaching points.
Why use an animated presenter?
Make the opening more engaging
A character can welcome the viewer, introduce the topic and explain what they will learn. This creates a more intentional start than displaying a title alone.
Guide attention between visuals
A presenter can sit beside a diagram, point the audience toward a key idea, or bridge the transition from one scene to the next.
Keep a consistent on-screen identity
Teachers, course creators and small businesses can reuse the same presenter across a series. That consistency helps a collection of videos feel connected even when individual lessons are updated later.
Avoid repeated camera recordings
When the script changes, edit the text and regenerate or replace the voice clip. You do not need to recreate an entire camera take because one sentence changed.
A practical workflow in Animator
1. Start with a lesson, script or blank project
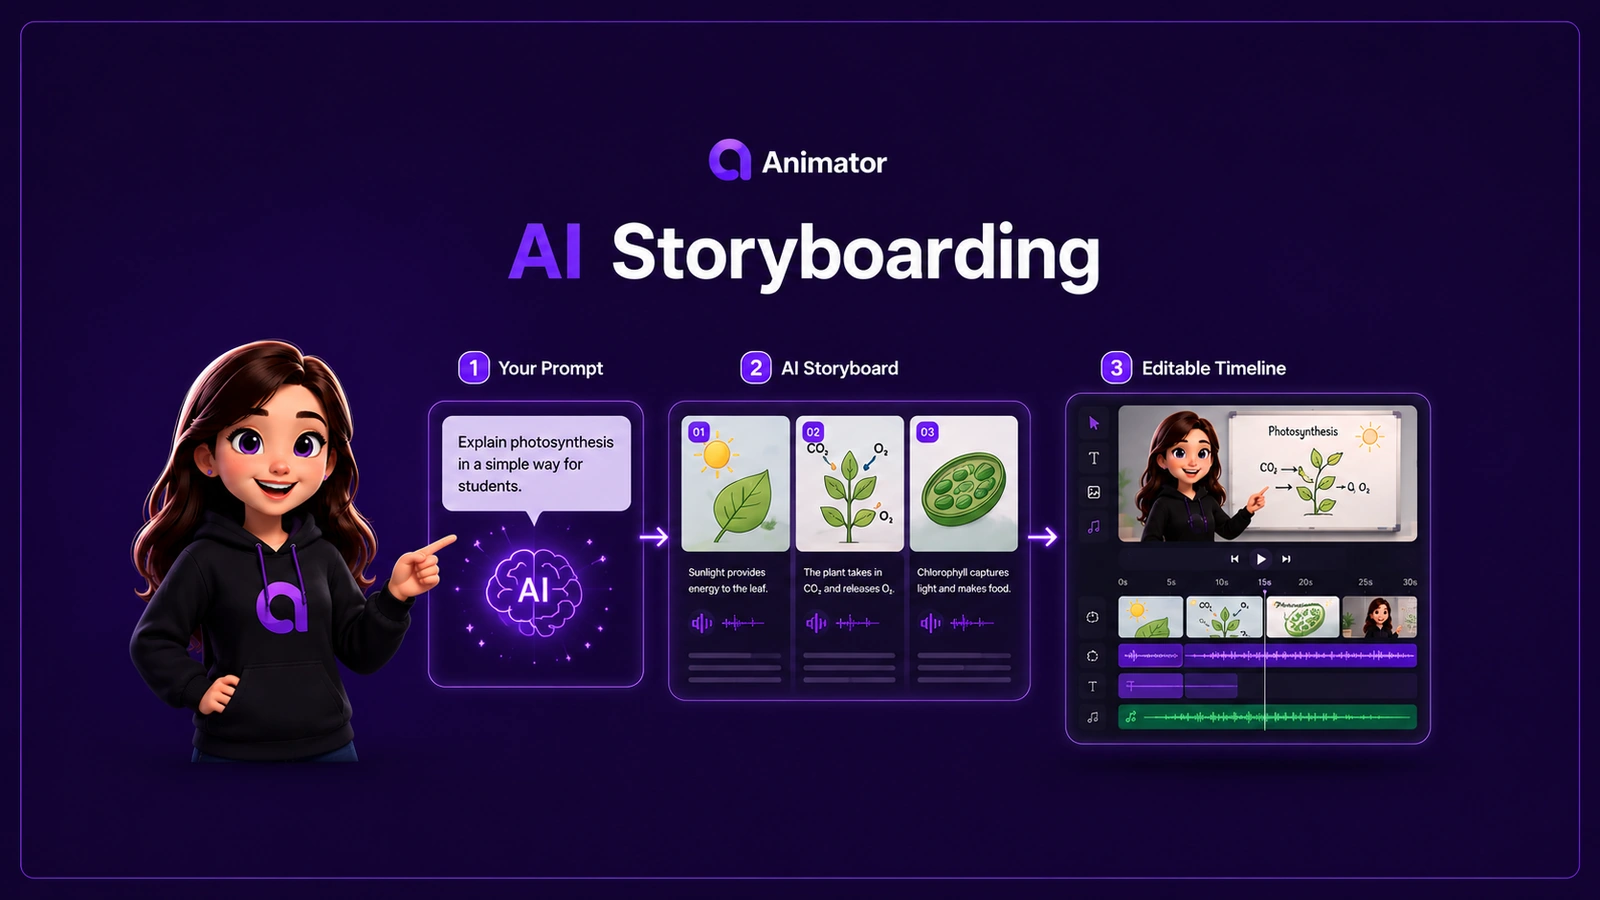
Open Animator and begin from your own material, a reusable template or an AnimatorAI™ first draft.
2. Choose a Talking Character
Open the Animator character panel and browse the available Free and Pro presenters. Select a character that suits the audience and tone of the video.
3. Write the presenter script
Keep each spoken segment focused. One character clip should usually introduce, explain, transition or summarise one clear idea.
4. Preview the voice
Choose a voice and listen before adding the final clip. Adjust punctuation and sentence length to improve pacing.
5. Place the presenter on the canvas
Position the character where it will not cover the lesson content. A common layout is:
- character on the left;
- main diagram or screenshot in the centre;
- short handwritten points on the right or below;
- captions aligned consistently across scenes.
6. Refine everything on the timeline
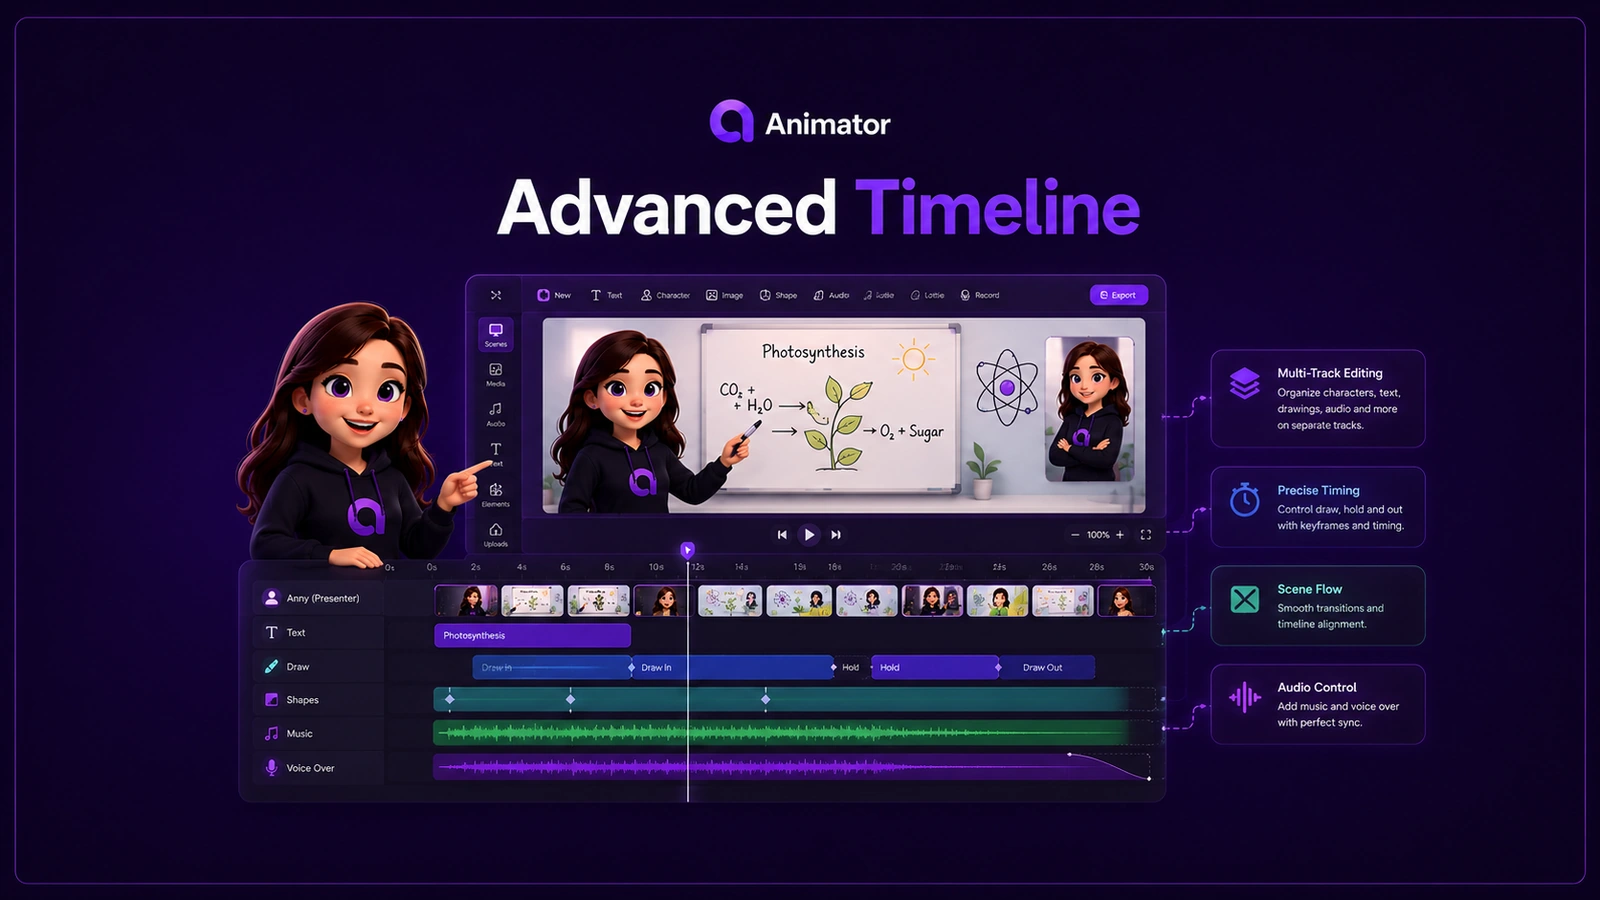
Animator places the character, voice and visual elements into an editable multi-track timeline. You can move, trim, duplicate and layer the clips, then adjust the timing without starting again.
Talking Characters for education
Teachers and course creators can use a presenter to:
- introduce learning objectives;
- explain a difficult term before showing a diagram;
- narrate a worked example;
- correct a common misconception;
- summarise the lesson;
- connect several short scenes into one coherent lecture.
For longer lessons, alternate between presenter-led scenes and visual-only scenes. This keeps the character useful rather than repetitive.
Talking Characters for products and training
A presenter can also guide viewers through:
- software onboarding;
- a product feature overview;
- workplace procedures;
- customer support instructions;
- safety training;
- a sales or marketing explainer.
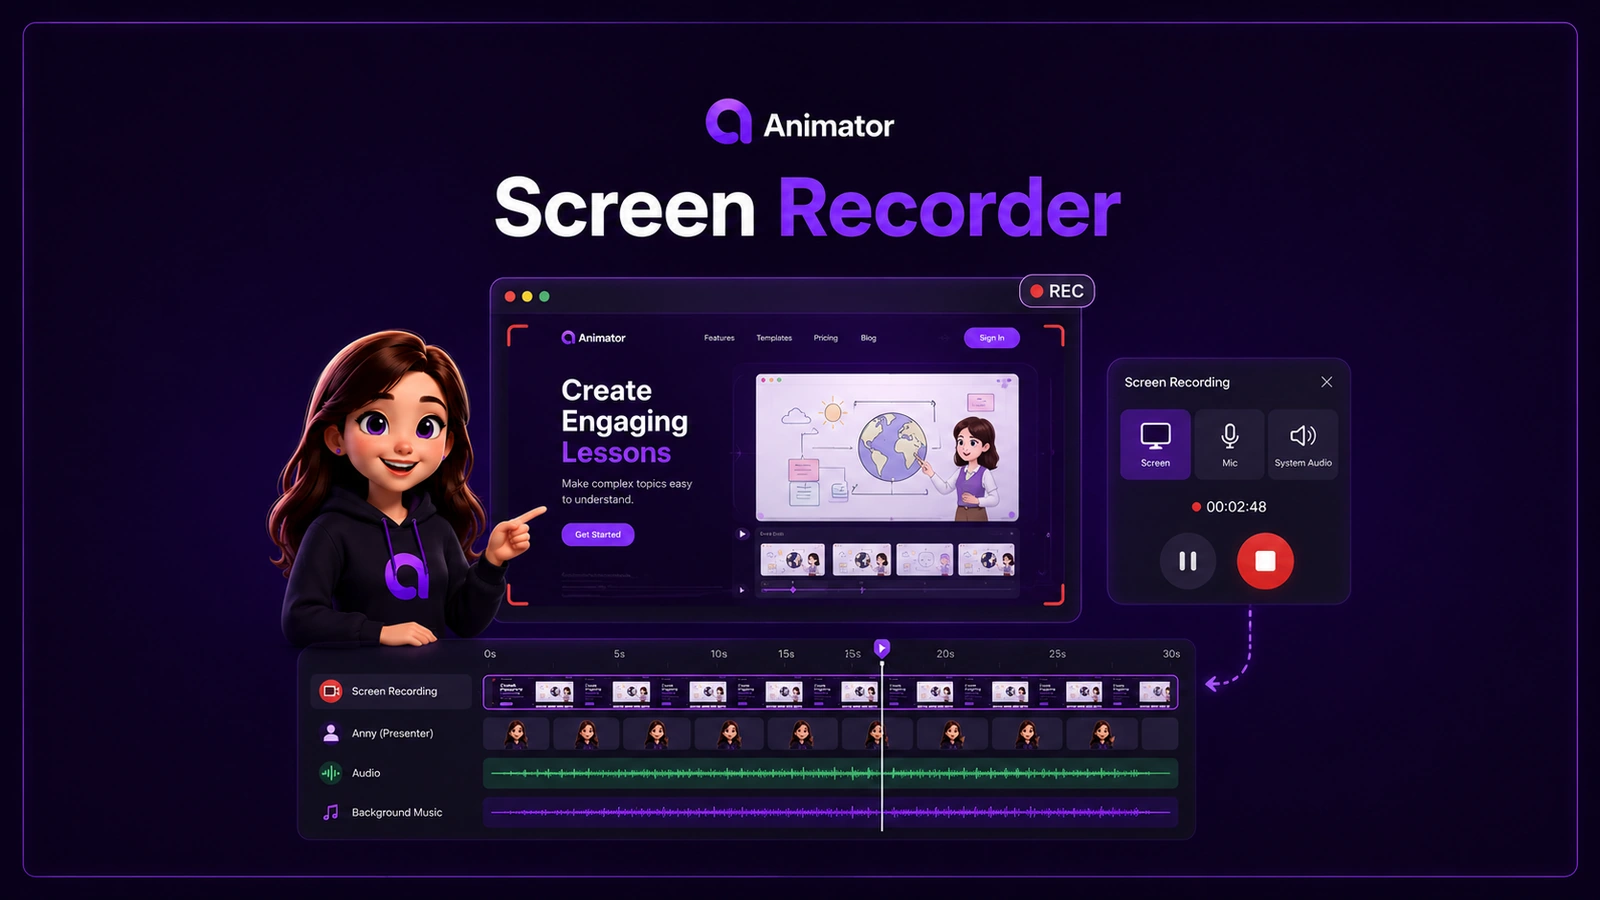
Combine the character with screenshots, imported media, screen recordings, callouts and voiceovers. Because each element remains editable, the video can be updated when the product or process changes.
Tips for a more natural result
Write for speech, not for a document
Use shorter sentences and natural transitions. Read the script aloud before generating the voice.
Let the visual do part of the explaining
Do not make the character narrate every detail visible on the canvas. Use the voice to guide the viewer and the whiteboard to show the evidence, process or example.
Keep movement subtle
Lip sync, blinking and light head movement are usually enough. Too much movement competes with the lesson.
Use consistent placement
Avoid moving the presenter to a completely different part of the frame in every scene unless the composition requires it.
Give the presenter room
Leave safe space around the character and avoid placing important text directly behind it.
Talking characters remain editable
The major advantage of using Talking Characters inside Animator is that the presenter is not baked into a locked one-click video. You can still:
- change the script;
- replace the voice;
- switch the character;
- move the character on the canvas;
- trim the character clip;
- layer it with images, Lottie animations and handwriting;
- synchronise it with captions and other audio.
That makes Talking Characters useful for real production work, where revisions are normal.
Start creating with Animator
Animator is a free browser-first AI whiteboard animation maker with unlimited local projects, timeline editing, Free character assets and Local AI where supported. Animator Pro adds premium characters, premium assets, AnimatorAI™ Credits, Full HD 1920×1080 export and clean exports without the Free watermark.
Open the Animator workspace and create a presenter-led lesson or product story directly in your desktop browser.