The hardest part of an explainer video often happens before animation begins. You need to decide what to say, what to show, how long each idea deserves and how one scene should lead into the next.
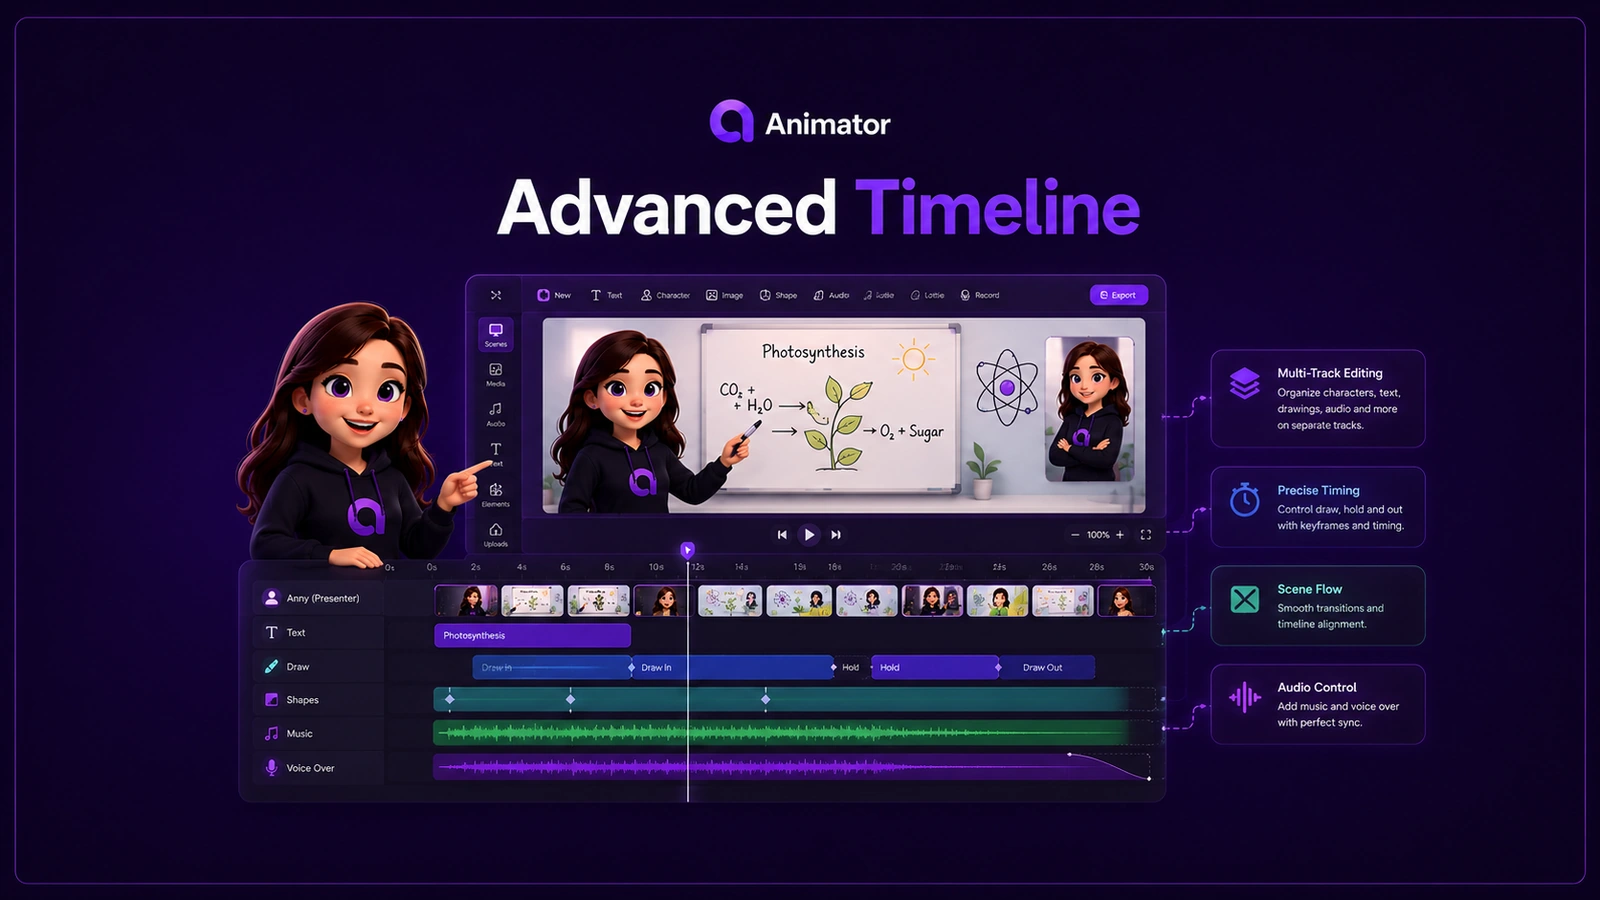
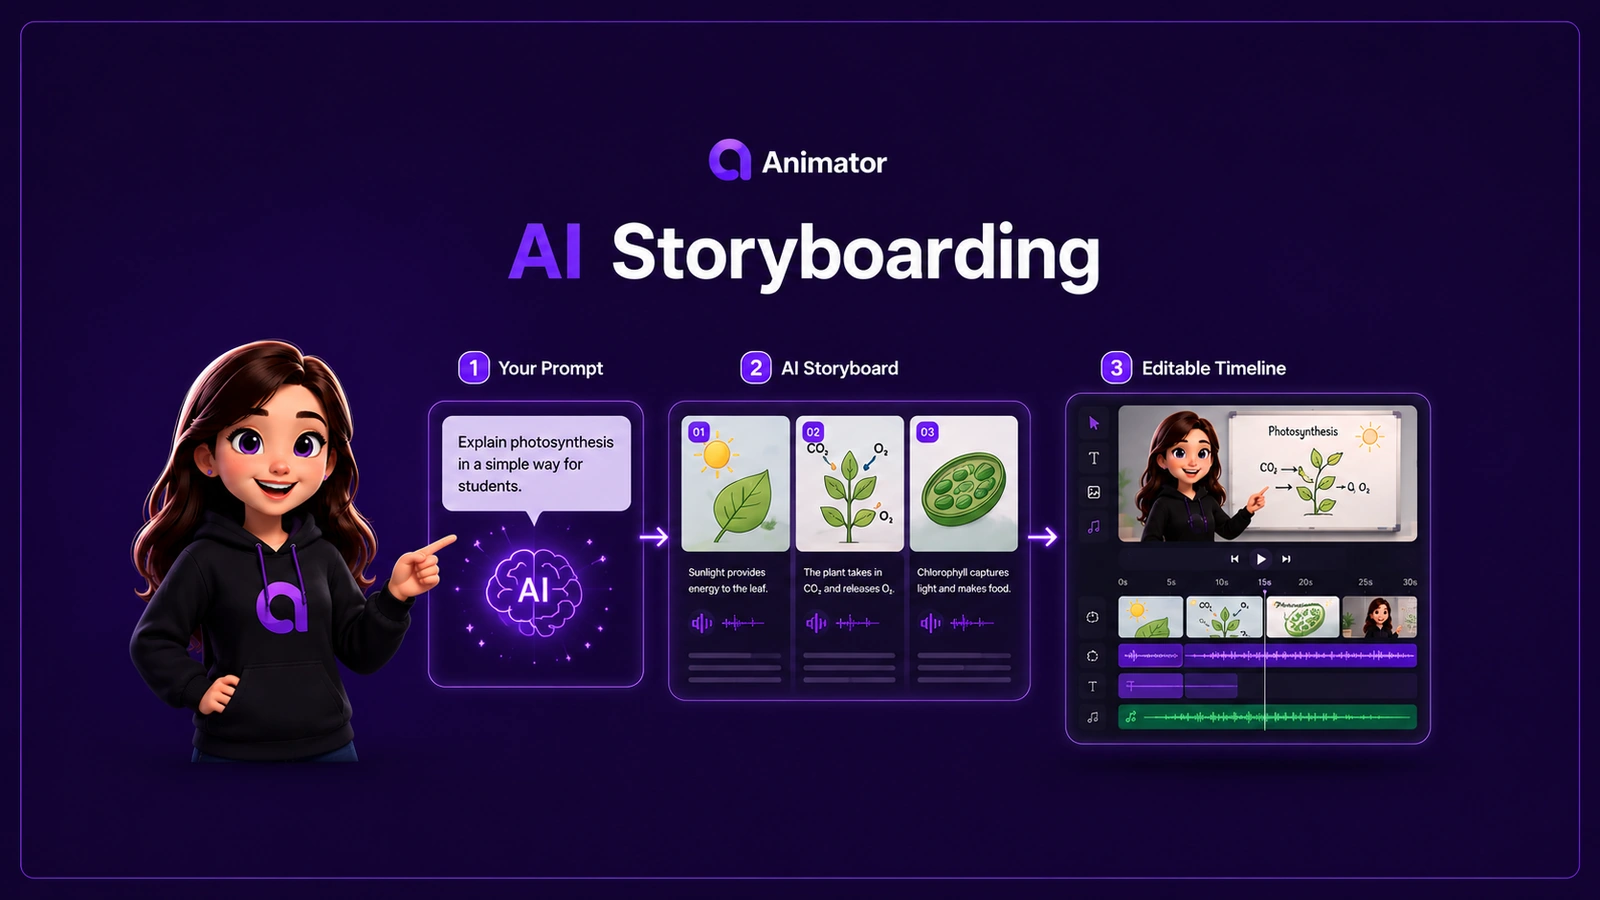
AnimatorAI™ storyboarding helps turn a topic, script or product idea into a structured first draft. It can organise narration, visual beats, teaching images, presenter moments and scene timing, then place the result into Animator’s editable timeline.
The AI creates a starting point—not a locked final video.
What is AI storyboarding?
A storyboard is the plan that connects the message to the visuals. In Animator, a storyboard can include:
- the purpose of each scene;
- narration or presenter dialogue;
- a visual beat such as a diagram, image, screenshot or handwritten phrase;
- approximate scene timing;
- transitions between ideas;
- captions and voice clips;
- a beginning, explanation and conclusion.
AnimatorAI™ uses your prompt or script to build this structure before or while it creates the first timeline draft.
Why storyboarding matters
It prevents random visuals
An explainer is easier to understand when each visual supports a specific sentence or idea. Storyboarding helps avoid filling the canvas with unrelated stock assets.
It improves pacing
Complex ideas need more time than simple transitions. A scene plan helps balance short introductions, detailed examples and concise summaries.
It exposes gaps early
A storyboard may reveal that the script has no worked example, no clear outcome or no final call to action. Fixing these gaps before polishing every animation saves time.
It makes revision easier
When the project is separated into clear scenes and visual beats, you can improve one part without rebuilding everything.
Storyboarding a lesson with AnimatorAI™
A strong educational storyboard can follow a structure such as:
- Title and objective — what the learner will understand.
- Core concept — the central idea in simple language.
- Mechanism or process — how it works step by step.
- Formula, rule or framework — when relevant.
- Worked example — applying the idea.
- Real-world application — why it matters.
- Common misconception — what learners often get wrong.
- Summary — the key points to remember.
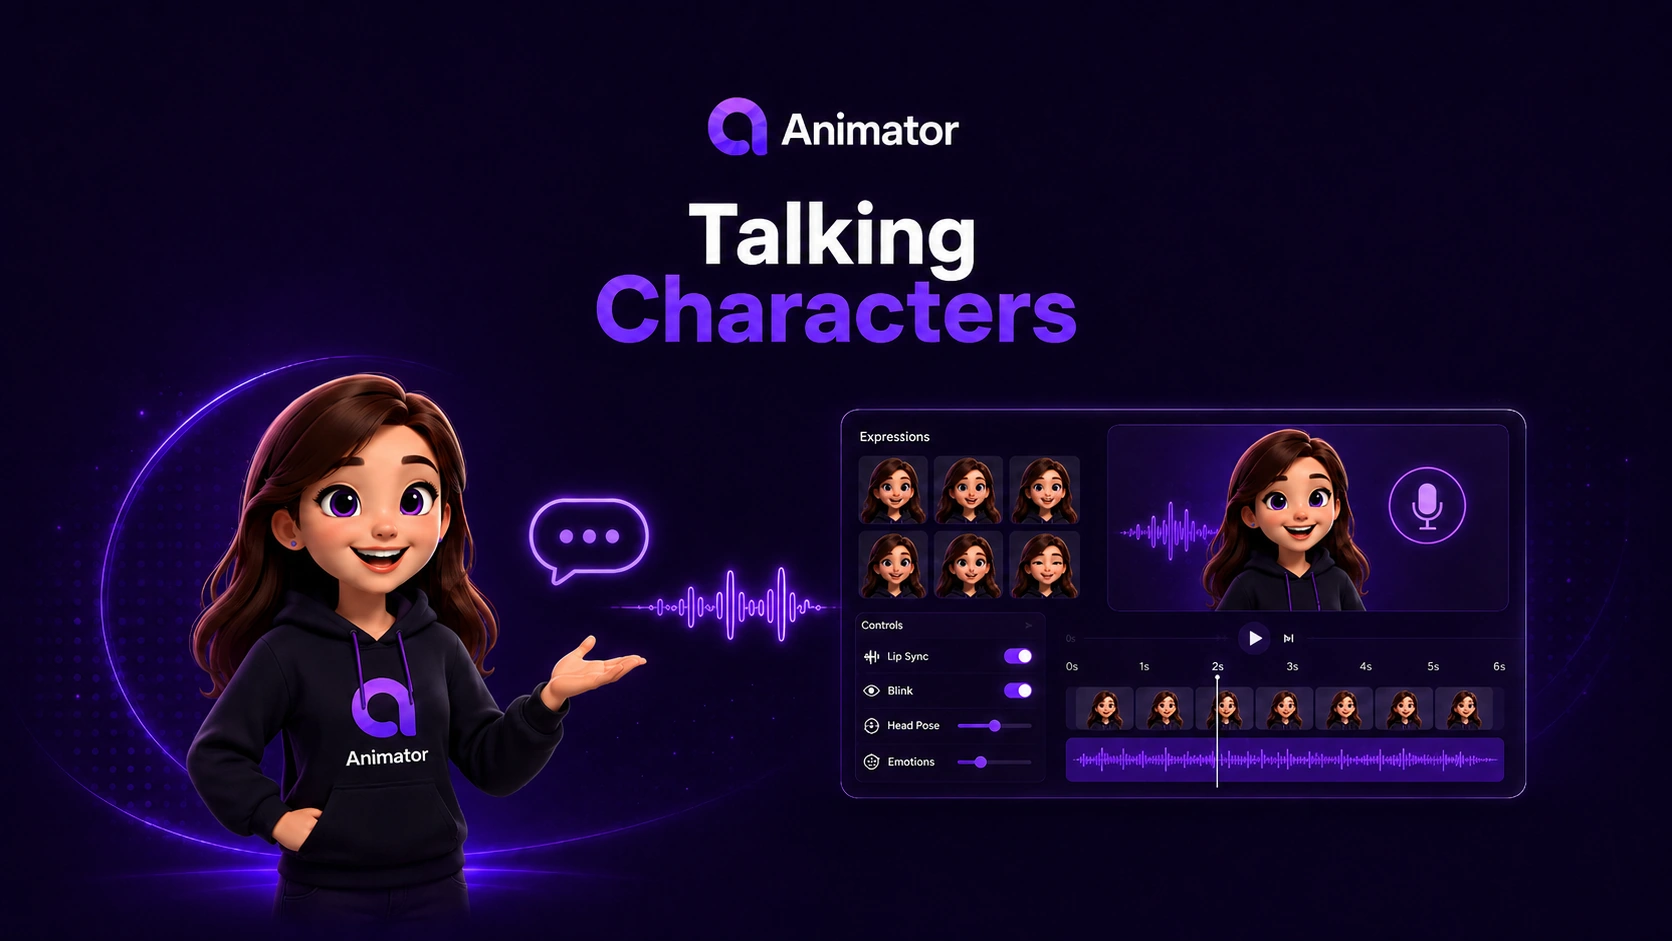
AnimatorAI™ can turn this structure into narration and visual beats, then add them to an editable timeline. A teacher can replace images, rewrite explanations, add a Talking Character or expand the worked example.
Storyboarding a product video
Product stories need a different rhythm. A useful structure is:
- Audience problem — show the situation the viewer recognises.
- Product introduction — present the solution clearly.
- How it works — demonstrate the main workflow.
- Key benefit — explain the outcome, not only the feature.
- Proof or example — show a practical use case.
- Next step — invite the viewer to try, learn or buy.
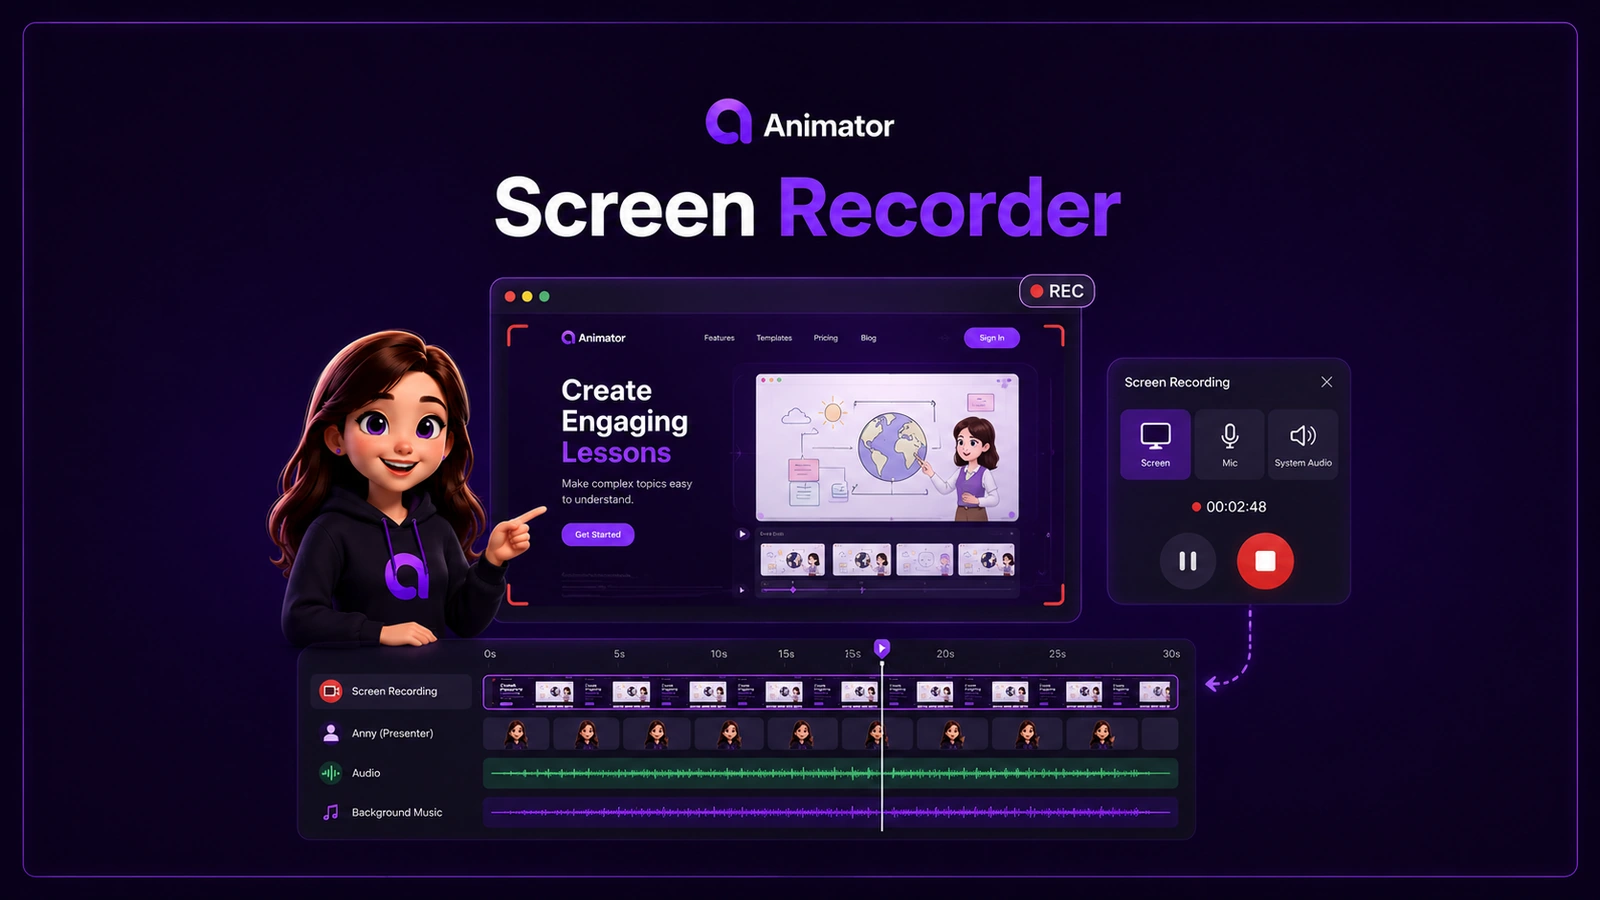
Animator can combine whiteboard visuals with screenshots, screen recordings, imported video, text, callouts and narration. The result can feel like a product demonstration and an illustrated explainer in one connected workspace.
From prompt to editable timeline
A typical AnimatorAI™ workflow is:
1. Enter a topic or script
Begin with a short idea such as:
Explain bubble sort to a beginner using a visual worked example.
Or provide a complete lesson outline, product brief or narration script.
2. Choose the type and depth
Select the style of output that suits the goal—for example, a concise product story or a more detailed lesson.
3. Generate the first draft
AnimatorAI™ plans the narration and visual sequence, then creates timeline elements for the draft.
4. Review the explanation
Check the structure before polishing. Ask:
- Is the objective clear?
- Does every major claim have a supporting visual?
- Is there an example?
- Are the scenes in the right order?
- Is the conclusion useful?
5. Edit scene by scene
Move clips, replace visuals, rewrite narration, change timing, add characters and adjust captions.
6. Preview and export
Scrub through the timeline, review the complete sequence and export the finished video.
AnimatorAI™ and Local AI
Animator offers two complementary AI paths:
- AnimatorAI™ provides hosted AI generation through credits included with Animator Pro.
- Local AI can run supported generation on a compatible desktop Chrome or Microsoft Edge browser without consuming hosted AnimatorAI™ Credits.
Local AI is useful for people who want an unlimited local workflow where their compatible device can handle the generation. Hosted AnimatorAI™ is useful when you want the supported cloud-assisted workflow and model capabilities included with Pro.
AI assistance without losing control
Many AI video tools focus on producing a final result as quickly as possible. Speed is useful, but a generated lesson still needs accurate wording, intentional visuals and revision.
Animator keeps the first draft editable:
- narration remains editable;
- scenes remain editable;
- visual assets can be replaced;
- characters can be changed;
- timing can be moved and trimmed;
- captions can be corrected;
- tracks can be layered;
- the project can be reopened and updated later.
This is especially important for education, technical training and product communication, where details change and accuracy matters.
Tips for better AnimatorAI™ prompts
State the audience
“Explain photosynthesis to Year 7 students” is more useful than “Explain photosynthesis.”
Describe the outcome
Say what the viewer should understand or do after watching.
Request a visual method
Ask for a labelled diagram, comparison, timeline, worked example, process flow or product walkthrough.
Provide required facts
Include terminology, product names, steps, numbers or constraints that must appear.
Set the desired length
A one-minute overview needs a different storyboard from a ten-minute lesson.
Example prompts
Lesson
Create a five-minute visual lesson explaining the water cycle to primary students. Include an objective, labelled process diagram, real-world example, common misconception and short recap.
Product
Create a 90-second product story introducing a browser-based whiteboard animation maker. Show the problem, AI storyboard workflow, talking character, timeline editing, screen recording and export.
Training
Turn this workplace procedure into a step-by-step training video. Use one scene per action, include safety warnings and finish with a checklist.
Start with AI, finish with your judgement
AnimatorAI™ is most valuable when it removes the blank-page problem while leaving the creator in charge. Use it to create structure, then apply your subject knowledge, brand voice and visual judgement.
Open Animator and turn your next topic, lesson or product idea into an editable storyboard and timeline.